Uploading an SSH Key to CILogon Registry#
CU Boulder Research Computing uses CILogon to manage key-based login (CU Anschutz users, only) and passwordless data transfers with scp and rsync (CU Boulder and AMC, only). Access to the RMACC CILogon Registry is available by invitation only.
Step 1: Enroll in the RMACC CILogon Registry#
Request an invitation to the RMACC CILogon Registry by submitting a support request form and explaining your intended use case (e.g., automated data transfers). After your case has been assigned, you will receive an email from registry@cilogon.org inviting you to enroll in the RMACC Registry.
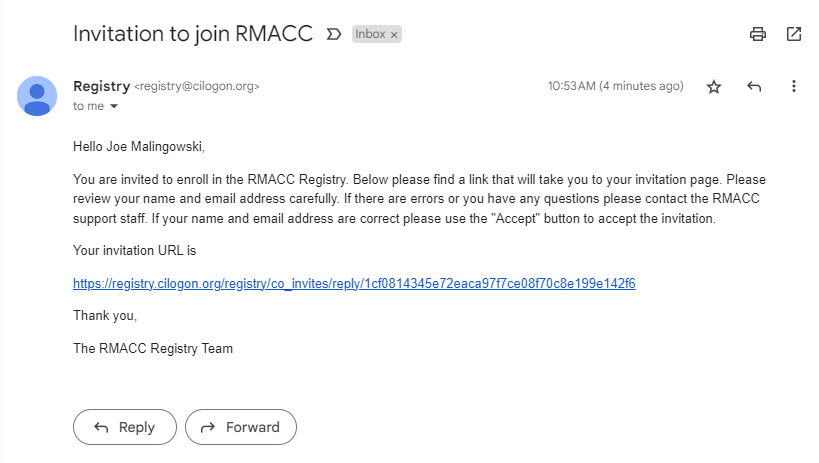
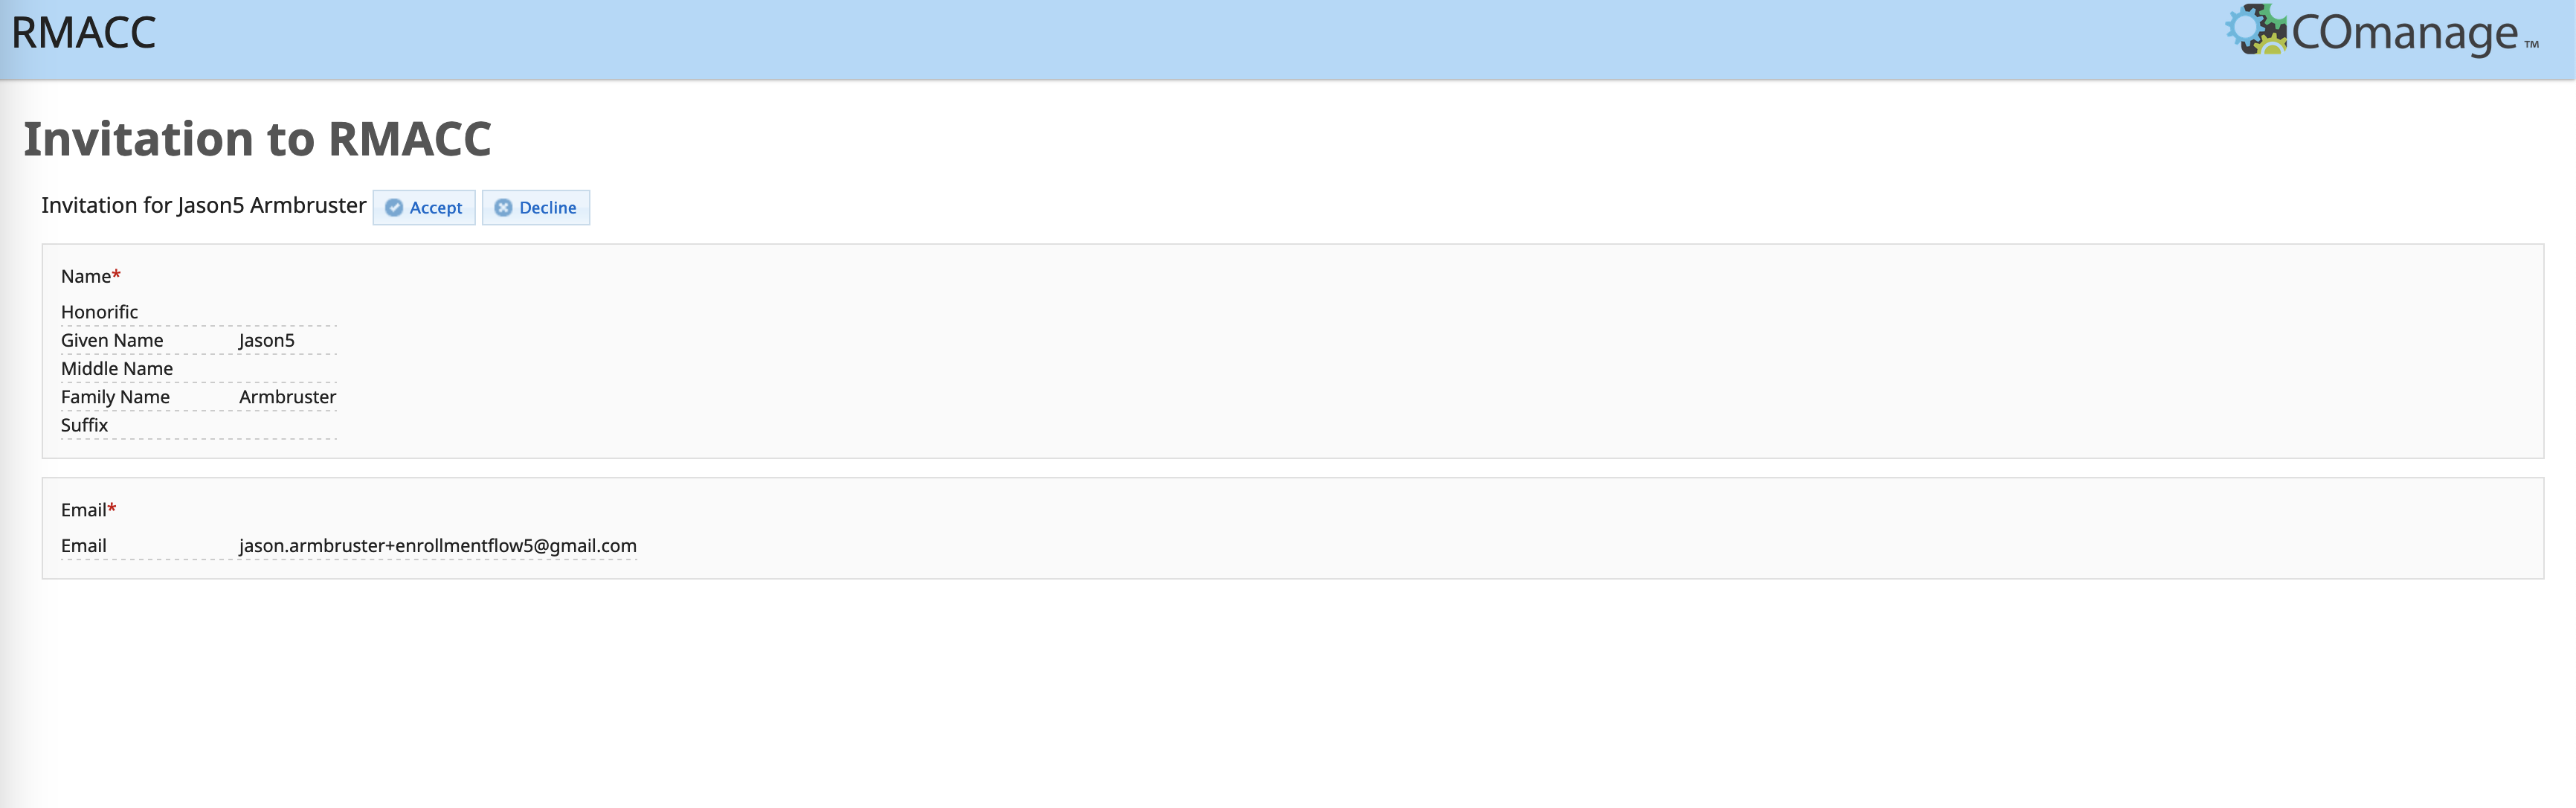
Follow the invitation URL and click “Accept”. The invitation link becomes invalid once you click “Accept”, so be sure to complete Step 1, Step 2, and Step 3 before closing your browser tab.
You will be automatically routed to the login page. If you access CURC resources with a CU Boulder account, select “University of Colorado at Boulder” from the Identity Provider dropdown menu and click “Log On”.
If you access CURC resources with an ACCESS account, select “ACCESS CI (XSEDE)” from the dropdown menu.

Enter your CU Boulder or ACCESS username and password and click “Login”. Accept the Duo push from your device.
Important
You can move on to Step 2, but please make sure 10 minutes have elapsed between completing Step 1 and beginning Step 3.
Step 2: Generate an ssh key#
Important
You are strongly encouraged to set a passphrase for your key pair and generate a Ed25519 key. You will be prompted to enter the passphrase each time you log in.
When generating a key on Windows it is recommended you use Powershell, but the command prompt or a basic Windows terminal will also work. Once inside Powershell (or similar), execute the following command to generate an Ed25519 key:
ssh-keygen -t ed25519
Once the above command is executed, you will be prompted for several items that will help you generate the key. It is recommended that you create a passphrase and note the file path of the generated key. During key generation, you may also name the key in the Enter file in which to save the key portion, instead of using the default id_ed25519 name. This is often necessary if you have previously generated keys. In the example output provided below, we use the default name and see that the public key has been saved in the path C:\Users\username\.ssh\id_ed25519.pub.
Z:\> ssh-keygen -t ed25519
Generating public/private ed25519 key pair.
Enter file in which to save the key (C:\Users\username\.ssh\id_ed25519):
Enter passphrase (empty for no passphrase):
Enter same passphrase again:
Your identification has been saved in C:\Users\username\.ssh\id_ed25519.
Your public key has been saved in C:\Users\username\.ssh\id_ed25519.pub.
The key fingerprint is :
SHA256:<key here>
The key's randomart image is:
+-- [ED25519 256] --+
|   .++*=B=.        |
...
+---- [SHA256] -----+
SSH key generation for Mac and Linux users can be completed from a terminal window. In a terminal, execute the following command to generate an Ed25519 key:
ssh-keygen -t ed25519
Once the above command is executed, you will be prompted for several items that will help you generate the key. It is recommended that you create a passphrase and note the file path of the generated key. During key generation, you may also name the key in the Enter file in which to save the key portion, instead of using the default id_ed25519 name. This is often necessary if you have previously generated keys. In the example output provided below, we use the default name and see that the public key has been saved in the path /Users/username/.ssh/id_ed25519.pub
username$ ssh-keygen -t ed25519
Generating public/private ed25519 key pair.
Enter file in which to save the key (/Users/username/.ssh/id_ed25519):
Enter passphrase (empty for no passphrase):
Enter same passphrase again:
Your identification has been saved in /Users/username/.ssh/id_ed25519.
Your public key has been saved in /Users/username/.ssh/id_ed25519.pub.
The key fingerprint is :
SHA256:<key here>
The key's ranomart image is:
+-- [ED25519 256] --+
|   .++*=B=.        |
...
+---- [SHA256] -----+
Note
There is a chance you need to create or alter your ssh config file ~/.ssh/config. See more in the Troubleshooting section below.
Step 3: Upload your ssh key to registry.cilogon.org#
After logging into registry.cilogon.org with your credentials, click on the dropdown menu in the upper right hand corner by your name. Select “MY PROFILE (RMACC)”.
Select “Authenticators” from the menu on the right.
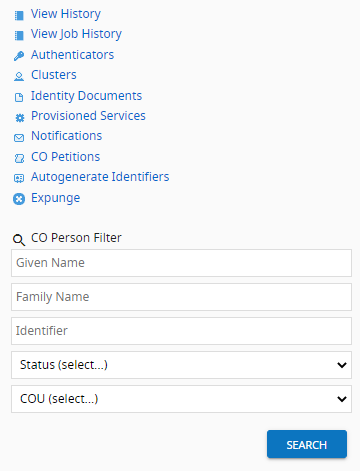
Click “Manage” in the SSHKeyAuthenticator row.

Select “Add SSH Key”.

Click “Choose File”. If you store your SSH keys in a hidden directory (e.g. ~/.ssh), it may be difficult to locate your public key using a Finder/File Explorer window. As a workaround, you can copy your public key to an easily discoverable location using the Terminal App/Windows Command Prompt: cp ~/.ssh/id_ed25519.pub ~/Desktop
Locate your public key (<keyname>.pub) on your local drive, then click “UPLOAD”.

A green message box will notify you that your SSH key has been successfully added to your account.

Deleting or Replacing SSH Keys in RMACC CILogon Registry#
Log in at registry.cilogon.org and navigate to the “Authenticators” section of your profile (see Step 3, above). Click “Delete”, then repeat the process for adding a new key. It will take a few minutes before you can log in with your new key.
Troubleshooting#
If you are able to get through Step 3 but unable to access CURC resources from your terminal, check that the key in your command is the same key you uploaded to the registry.
If you are prompted for a passphrase (not a password), this refers to the passphrase you set when you generated your key. If you don’t remember it then you will have to generate and upload a new key to the registry.
For Mac users: If you have set up the key and followed all the steps above but are prompted for a password instead of a passphrase, you may need to edit or create a config file (
~/.ssh/config). If you don’t have an ssh config file, you can create it from the terminal window with the commandtouch ~/.ssh/config. After, edit the file and add the following 3 lines before trying again:Host login.rc.colorado.edu HostKeyAlgorithms ssh-ed25519 PubkeyAcceptedAlgorithms ssh-ed25519
If you are prompted for a password please submit a support request form, as this indicates an issue with your CILogon enrollment. Please include a screenshot of the error message and the date/time of your last login attempt. Mac users should first attempt the solution provided in the bullet point above.
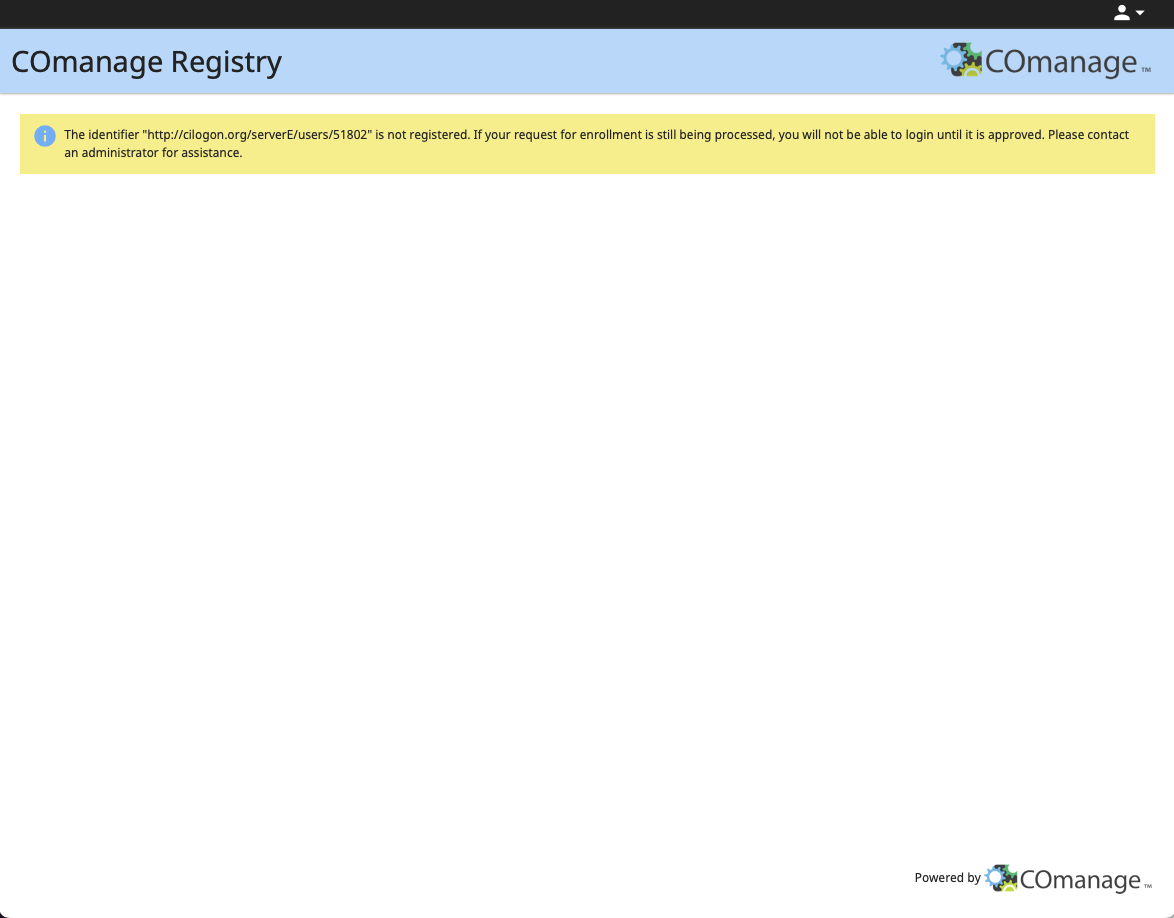
If you receive an error message indicating that you are not in the COmanage registry (see screenshot below), please submit a support request form.